September 10 is the statistical peak of the Atlantic hurricane season, according to the National Hurricane Center's own climatology, with most activity occurring between mid-August and mid-October. If you have open metal roofing jobs anywhere in Florida across that stretch, the question is not whether a named storm interrupts your schedule, it is when. This is an operational checklist for that reality: what to do with material staged on a job site, how to sequence dry-in so a roof is never caught half-open, what to actually inspect on a completed standing seam or exposed-fastener roof, and how to document condition before a storm arrives so the record means something afterward.
Securing material on open jobs before a storm is named
Do not wait for a hurricane watch to think about what is sitting on a driveway. During peak season, treat every open job as if a storm could be named within 72 hours.
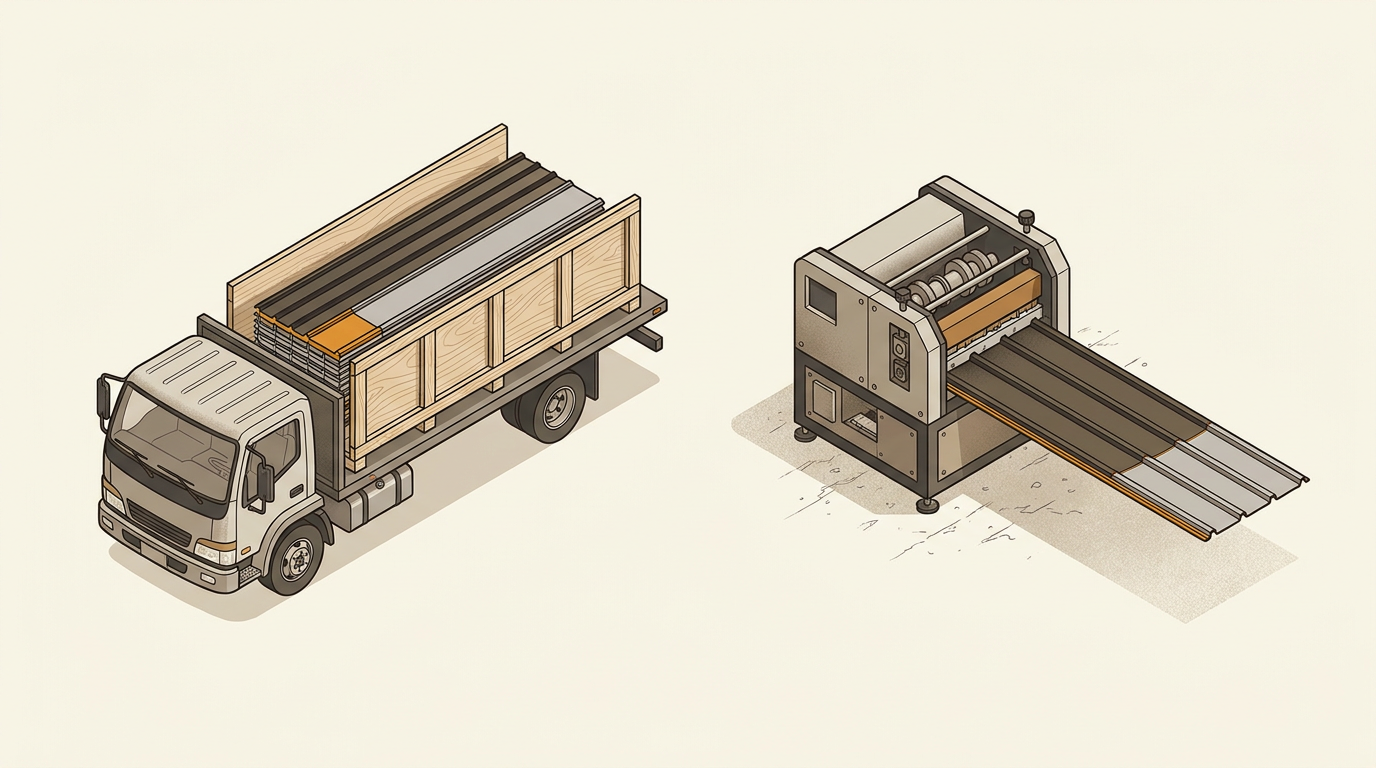
- Confirm the delivery date on anything still in transit. If crated panels are scheduled to arrive as a storm track develops, call your ERS contact and ask whether the date can move rather than letting a truck show up into deteriorating weather.
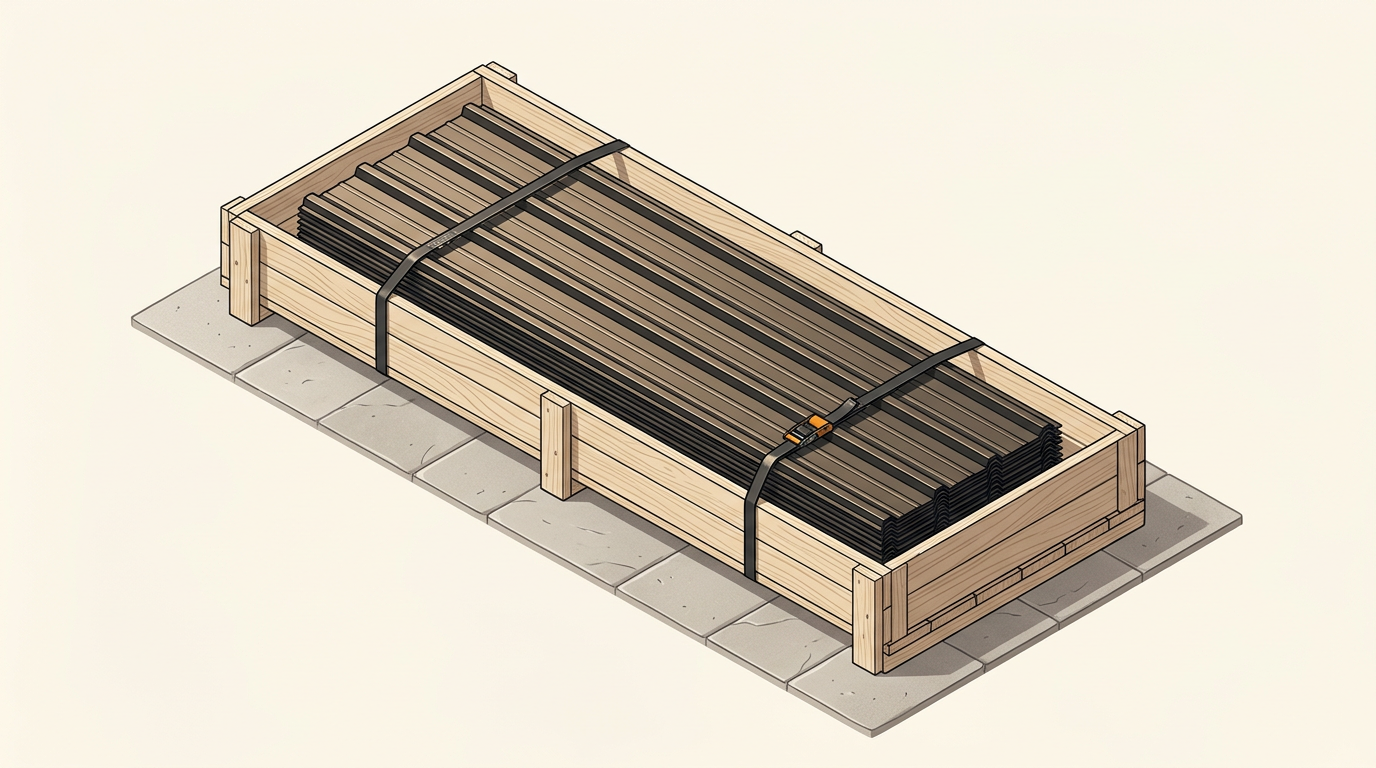
- Get crated panels off open ground and onto a hard, forklift-accessible surface. Crates hold up far better sitting square on pavement than tipped on grass or gravel.
- Strap or weight loose trim, coil remnants, and cut panel offcuts. A ridge cap or piece of drip edge becomes a projectile in sustained wind long before the roof itself is at risk.
- Move fasteners, sealants, and closures indoors or into a locked trailer. A cardboard box of screws does not survive open-air rain.
- Photograph the staged material before you leave the site each evening once a watch is in effect, dated and time-stamped. See the documentation section below for why that matters.
None of this substitutes for reading your own insurance policy or your client's. What it does is put you in a defensible position: material was secured, the sequence was reasonable, and there is a photographic record of when.
Crating and staging discipline through hurricane season
Panels fabricated to exact length and delivered crated are already a more storm-tolerant format than loose bundles, because the crate does real work: it keeps panels square, off the ground, and out of standing water. See crated delivery for how that fabrication and shipping sequence works day to day. That advantage disappears if the crate itself is staged carelessly.
- Do not stage crates in a known low spot or drainage path. A crate that floods even briefly can trap water against panel edges and finish.
- Keep crates clear of anything nearby that could blow into them: loose fencing, sheds, unsecured scaffolding, a neighbor's debris pile.
- If a crate has already been opened and panels partially pulled, restack and re-cover what remains instead of leaving it open overnight.
- Coordinate delivery timing with your crew schedule during active season. The goal is to minimize the number of days panels sit staged before they go on the roof, not to rush fabrication.
Dry-in sequencing when a storm is on the board
The riskiest state for any roof is partially open: deck exposed, underlayment incomplete, panels not yet locked down. Once a storm enters the forecast cone, dry-in sequencing should shift from "efficient" to "defensible."
- Prioritize completing underlayment across the full deck before starting panel installation on a new section, rather than working section by section with open deck left elsewhere.
- Confirm underlayment laps and fastening meet the manufacturer's installation instructions for the product in use. A self-adhered membrane rated for high deck temperatures, like Titanium PSU30, still depends on proper lap and fastening to perform as a secondary water barrier. See underlayment for the broader deck-prep picture.
- If panel installation cannot be finished before the storm's arrival, stop at a point where the underlayment is fully continuous, not at a point where deck is exposed.
- Re-check every penetration, valley, and edge that was dried in earlier in the job. A membrane that has been down for weeks and walked on repeatedly is not in the same condition as one installed yesterday.
- Document the dry-in state before you leave the site, the same way you document staged material.
What to inspect on completed metal roofs
A finished standing seam or exposed-fastener roof still has maintenance items worth checking before storm season peaks, and again after any storm passes near the job.
- On exposed-fastener systems (5V, PBR, Rib), check fastener backout and washer condition. A fastener that has backed out even slightly is an easy pre-storm fix and a hard post-storm leak.
- On standing seam, confirm panel clips are seated and seams are fully engaged, particularly at ridge and hip transitions where field crews sometimes finish last.
- Check flashing at every penetration: pipe boots, skylight curbs, chimney crickets. Sealant failure at a penetration is a more common source of storm-related leaks than the panel itself failing.
- Clear valleys, gutters, and eaves of accumulated debris. Standing water at a valley under wind-driven rain finds its way past details that would otherwise shed water fine.
- Note any oil canning you observe and do not treat it as a defect. It is a cosmetic condition in the panel, not a performance issue, and a storm neither causes nor worsens it.
None of this replaces a full post-storm damage assessment. It is the baseline walk that catches the items most likely to turn a near-miss storm into an actual claim.
Timing this inspection matters as much as the checklist itself. A walk done in the calm before a watch is issued gives you a true baseline. A walk done after wind and rain have already hit the roof is a damage assessment, not a readiness check, and the two serve different purposes. If your crews are moving between several completed jobs during peak season, build the pre-season walk into the schedule deliberately rather than treating it as something that happens if there is spare time, because spare time tends to disappear once a storm actually enters the forecast.
Documenting condition before a named storm
The point of documentation is not paperwork for its own sake. It is having a record that answers a specific question later: what was the condition of this roof, and this material, before the storm, versus after. That distinction is what determines whether damage gets treated as storm-caused or pre-existing.
- Photograph every open job, staged material pile, and completed roof section once a storm enters the forecast, not after it has already passed. The timestamp matters more than the volume of photos.
- Keep photos organized by project and by date in whatever system you already use for job files, so they are retrievable weeks later if a claim or client question comes up.
- Note the fabrication and delivery dates for any material on site, alongside the photos. Panels that arrived crated three days before landfall versus three weeks before is a relevant fact if a dispute ever comes up.
- Do not draft or promise any specific coverage outcome to a client. Document condition; let the client and their insurer work the claim.
This applies to workmanship too. If ERS Installations crews are on the job, the same documentation habit holds: photograph the state of work in progress, not just the finished product, so the record covers the days that mattered.
None of this changes what happens once a job needs material fast because a schedule shifted. IMQ still prices standing seam and 5V jobs from current availability, and ERS Metals sales can talk through a specific job's timing if a storm has already moved your schedule. For the routine side of what this post treats as storm-specific, see cleaning and maintaining metal roofing on the coast.